
A seasonal car detailing checklist turns a large cleanup into a logical inspection and maintenance routine. The goal is not simply to make the vehicle look clean. Good detailing removes contamination safely, identifies damage early and protects surfaces according to their condition.
The steps below can be used after a harsh season, before long-term storage or whenever the vehicle needs a more thorough reset than a routine wash. Product instructions and the vehicle manufacturer’s guidance should take priority whenever they differ from general advice.
1. Inspect the Vehicle Before Cleaning
Begin with the vehicle dry and in good light. Walk around it slowly and note loose trim, fresh chips, deep scratches, lifted paint protection film edges, damaged seals and areas with heavy tar, insects or tree sap. Inside, look for damp carpet, staining, worn upholstery and items trapped near seat rails or pedals.
This inspection changes the plan. A loose film edge should not be pressure-washed, a deep paint chip needs different treatment from a surface stain, and a wet carpet should be investigated before it is covered by a floor mat. Photographing damage can also help you determine whether a mark changed during cleaning.
2. Choose a Safe Work Area and Gather Tools
Work on a cool surface in shade whenever possible. Hot panels cause shampoo and mineral-rich water to dry quickly, increasing the risk of streaks and water spots. Make sure there is enough room to move hoses and tools without dragging them against the paint.
A practical exterior kit includes automotive shampoo, wash buckets, soft wash media, wheel brushes, several microfiber towels and a drying towel or filtered-air dryer. Keep wheel and lower-panel tools separate from those used on upper paint. Brake dust, sand and road grit can remain trapped in a mitt even after it is rinsed.
For the interior, prepare a vacuum, soft brushes and cleaners specifically labelled for the materials in the vehicle. Test any unfamiliar product in a small, hidden area first. Avoid mixing chemicals or using a stronger concentration than the label recommends.
3. Pre-Rinse Before Contact Washing
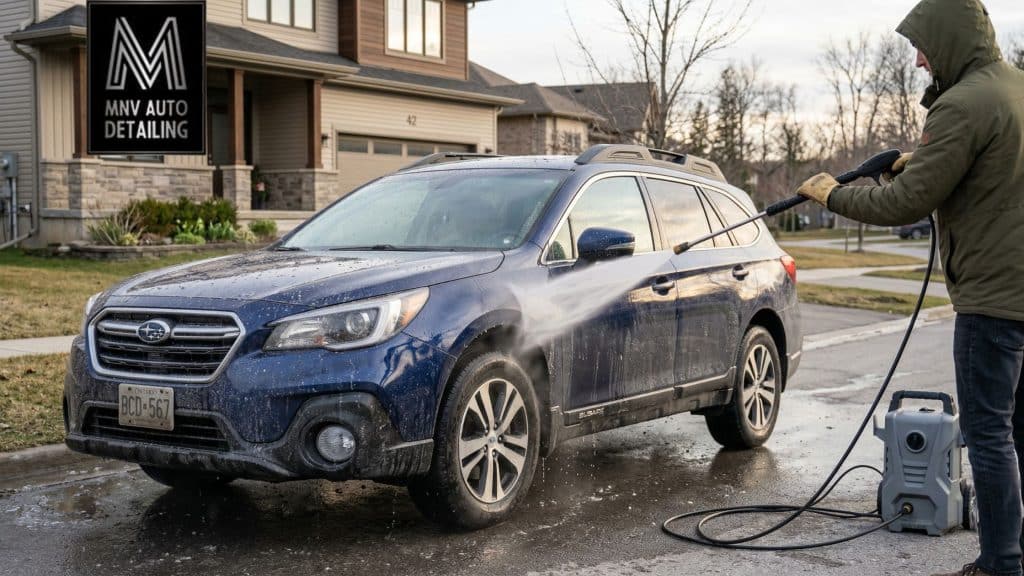
A thorough pre-rinse removes loose dirt before a mitt touches the paint. Start at the roof and work downward, paying attention to wheel arches, rocker panels, the rear bumper and gaps where debris collects. Allow water to soften dried contamination instead of immediately scrubbing it.
If using a pressure washer, use a broad fan pattern and maintain a conservative distance from the surface. Never direct concentrated pressure at damaged paint, stone chips, badges, seals or the exposed edge of paint protection film. The equipment manufacturer and film installer may specify additional limits.
4. Clean Wheels and Tires With Dedicated Tools
Wheels often carry the heaviest contamination. Clean them with cool surfaces and use a product that is compatible with the exact finish. Painted, clear-coated, polished, anodized and bare-metal wheels do not always tolerate the same chemicals.
Work on one wheel at a time so the cleaner cannot dry. Agitate the face, lug recesses, barrel and tire sidewall with separate brushes, then rinse thoroughly. Persistent brown residue on a tire may be old dressing or contamination; repeated gentle cleaning is safer than one aggressive chemical treatment.
5. Wash From the Cleanest Areas to the Dirtiest
Use a lubricating automotive shampoo and clean wash media. A two-bucket method can reduce the amount of dirt returned to the paint: one bucket holds the wash solution and the other is used to rinse the mitt. Multiple clean wash towels are another option because a contaminated towel can be set aside rather than reused.
Clean the roof, glass and upper panels first. Leave lower doors, rocker panels and bumpers until last. Use light, overlapping passes and rinse the mitt or change towels frequently. Extra pressure rarely cleans bonded material safely; it usually increases the chance of marring.
Insects, bird droppings, sap and tar should be treated with a compatible remover and adequate dwell time. Do not scrape them with a fingernail or abrasive pad. The guide on removing tree sap from car paint explains how to approach softened and hardened deposits.
6. Dry the Vehicle and Reinspect the Paint
Do not leave the vehicle to air-dry if the water contains minerals. Use a clean, absorbent towel with light pressure or a dedicated vehicle dryer. Blow trapped water from mirrors, emblems, grilles and panel gaps before the final towel pass.
Once dry, inspect the finish again under direct and angled light. Fine circular marks usually indicate wash marring or swirl marks. A rough texture suggests bonded contamination, while chalky or faded paint may indicate oxidation or clear-coat failure. The article on why car paint looks dull explains how these conditions differ.
7. Decontaminate Only When the Surface Needs It
Normal shampoo removes loose soil but may not remove iron particles, tar or other bonded contaminants. After washing, lightly place a clean hand inside a thin plastic bag and glide it over a lubricated section of paint. The bag increases tactile sensitivity; a rough surface may benefit from decontamination.
Chemical removers target specific contamination. Iron removers dissolve reactive iron particles, while tar removers soften petroleum-based deposits. Use each product only where needed, follow its dwell-time limits and rinse before it dries.
A clay bar, clay towel or synthetic clay mitt can remove material that remains bonded after chemical treatment. Mechanical decontamination can also create light marring, especially on soft paint, so use ample lubricant and minimal pressure. Clay is not a mandatory step at every detail.
8. Decide Whether Polishing Is Appropriate
Polishing removes a small amount of material to reduce visible defects; it is not simply another cleaning step. Test the least aggressive pad and polish combination in a small area before treating the entire vehicle. If you cannot identify the paint condition or measure risk confidently, stop before machine polishing.
Deep scratches that catch a fingernail, exposed primer, peeling clear coat and active corrosion are not corrected by ordinary polishing. These conditions may require touch-up, body repair or refinishing. Repeated heavy polishing can permanently reduce clear-coat thickness.
9. Select Protection Based on Use and Maintenance
Wax, synthetic sealant, ceramic coating and paint protection film perform different jobs. Wax and sealant are comparatively simple to apply and renew. Ceramic coatings can provide longer chemical resistance and easier cleaning but still require careful washing. Paint protection film adds a physical layer against chips and abrasion but has edges, topcoat limitations and eventual replacement needs.
Choose a product based on the surface, expected exposure, preparation requirements and maintenance you are willing to perform. More durability does not eliminate washing or inspection. For coated vehicles, follow the ceramic coating maintenance guide. Film-covered panels require the edge and stain precautions in the paint protection film maintenance guide.
10. Clean Glass, Lights and Exterior Trim
Use an automotive glass cleaner that is compatible with aftermarket tint. Clean the inside and outside in different stroke directions—for example, horizontal inside and vertical outside—so the side with a remaining streak is easy to identify.
Inspect wiper blades for splits, hardened edges and chatter. Clean the blade rubber gently and replace damaged blades rather than trying to restore them with aggressive solvents. Hazy headlamp lenses may need restoration and renewed ultraviolet protection; moisture inside a lamp can indicate a seal or housing problem.
Clean textured plastic and rubber trim with soft brushes and a compatible cleaner. A dressing may improve appearance and reduce weathering, but avoid slippery products on pedals, steering wheels, tires’ tread surfaces or other control areas.
11. Detail the Interior From Dry to Wet
Remove personal items and floor mats, then vacuum before applying liquid cleaners. Use compressed air or a soft brush to move debris from seams and vents toward the vacuum nozzle. Check beneath seats carefully without disturbing electrical connectors or wiring.
Clean one material at a time. Modern coated leather generally needs a mild leather-safe cleaner rather than heavy oil. Fabric should not be saturated because excess moisture can remain in foam and encourage odour. Screens, instrument clusters and glossy trim scratch easily, so use a product and towel intended for delicate surfaces.
Use minimal product around buttons and switches. Apply cleaner to the towel or brush instead of spraying directly into openings. Matte, low-residue finishes are preferable on the dashboard because glossy dressings can create distracting windshield reflections.
12. Finish With Safety and Function Checks
Detailing is a useful time to inspect items that affect safe operation. Check tire pressure when the tires are cold and use the pressure specified on the vehicle placard, not the maximum molded into the tire sidewall. Examine tread, sidewalls and valve stems for unusual wear or damage.
Confirm that lights, cameras and parking sensors are clean and unobstructed. Make sure floor mats are secured and cannot interfere with pedals. Remove any dressing overspray from glass, controls, brake components and walking surfaces.
How Often Should a Full Detail Be Performed?
There is no universal schedule. A vehicle stored indoors and driven occasionally has different needs from one exposed to frequent rain, dust, road salt, insects or tree sap. Inspect condition rather than relying only on the calendar.
- Wash when contamination is visible or after exposure that should not remain on the surface.
- Remove bird droppings, insects and sap promptly with a safe method.
- Decontaminate when the clean paint still feels rough or shows embedded particles.
- Renew wax, sealant or coating toppers according to product behaviour and manufacturer guidance.
- Deep-clean the interior when ordinary vacuuming and wiping no longer control soil or odour.
Common Seasonal Detailing Mistakes
- Washing hot panels or allowing products to dry on the surface.
- Using the same towels and brushes on paint, wheels and lower panels.
- Scrubbing bonded contamination instead of softening or dissolving it.
- Claying or polishing automatically, even when the paint does not need it.
- Applying dressing to steering wheels, pedals or tire tread.
- Saturating carpet, seat foam, switches or electronic controls.
- Assuming a coating or film makes careful maintenance unnecessary.
Final Takeaway
A thorough detail is most effective when each step responds to the vehicle’s actual condition. Inspect first, remove loose material before touching the paint, use surface-specific products and add protection only after the finish is clean and stable. That approach improves overall appearance while reducing unnecessary abrasion, chemical exposure and repeated work.