mold in car seat
Finding mold in your car is more than a cosmetic problem. It can create stubborn odors, stain interior materials, and expose you to irritants that may affect breathing and comfort. Health Canada notes that indoor mold and dampness are linked with eye, nose, and throat irritation, coughing, wheezing, and worsening asthma symptoms, and recommends cleaning up any visible mold regardless of type.
For Canadian drivers, this issue is especially common after wet winters, soaked floor mats, spilled drinks, leaking sunroofs, or a car that sat unused in humid weather. If you act quickly and methodically, you can often remove minor mold yourself and prevent it from coming back.
Step 1: Fix the moisture source first
Before you scrub anything, identify why the mold appeared. Mold grows when moisture stays trapped. Health Canada emphasizes that unless the moisture problem is solved, mold will return.
Check these common car trouble spots:
- Wet carpets from snow, rain, or slush
- Leaking door seals or weather stripping
- A clogged sunroof drain
- Damp trunk liners
- Spilled drinks or food residue
- A malfunctioning AC system leaving excess condensation
If you skip this step, you may clean the surface but not the cause.
Step 2: Protect yourself before cleaning
Even a small mold problem can release spores into the air while you clean. Health Canada recommends basic protective gear such as gloves, safety glasses, and a well-fitting N95 respirator when handling mold.
Use:
- Disposable gloves
- N95 mask
- Eye protection
- Old clothes you can wash right away
Also, park the car outside or in a very well-ventilated area. Open all doors and windows before you begin.
Step 3: Remove everything that holds moisture
Take out anything removable so the interior can dry properly.
Start with:
- Floor mats
- Seat covers
- Loose fabrics
- Trash
- Trunk liners
- Any paper items or cardboard
CDC guidance says materials that cannot be cleaned and dried within 24 to 48 hours should be removed, and drying should happen as quickly as possible. If an item is deeply moldy and porous, it may be smarter to replace it than try to save it.
Step 4: Vacuum dry mold carefully
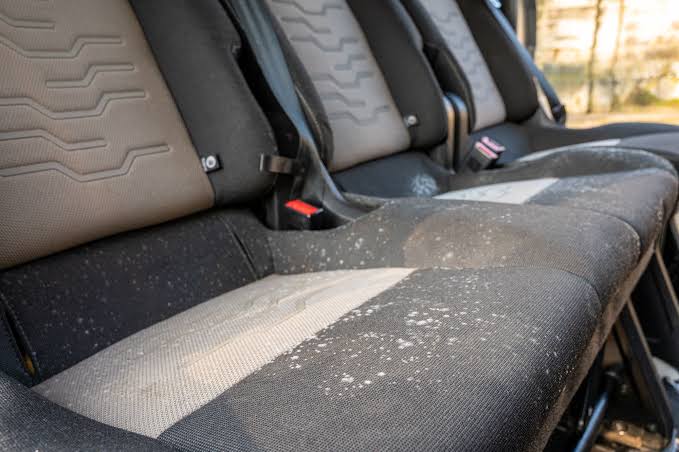
If the mold is dry and powdery, vacuum first to reduce loose spores. A vacuum with a HEPA filter is ideal. Go slowly over carpets, seat seams, under seats, and the trunk area.
Important: do not use a regular household vacuum if it blows spores back into the air badly. If that is your only option, vacuum outdoors and follow up with careful wipe-down cleaning.
Step 5: Clean hard surfaces with detergent and water
For plastic, vinyl, rubber, and other hard interior surfaces, EPA guidance is clear: scrub mold off hard surfaces with detergent and water, then dry completely.
Use a microfiber cloth or soft brush with:
- Warm water
- Mild unscented detergent
- A second clean cloth for rinsing
- Dry towels
Clean these areas thoroughly:
- Dashboard
- Door panels
- Steering wheel
- Seat belt housings
- Plastic trim
- Cup holders
- Inside windows where condensation builds up
Do not just spray and walk away. The goal is physical removal, not masking.
Step 6: Treat carpets and upholstery with extra care
Fabric seats and carpeting are harder because mold can settle below the surface. Light contamination can sometimes be cleaned, but heavily affected porous materials may need replacement. EPA notes that porous materials can be difficult or impossible to clean completely once mold gets into the fibers and spaces inside them.
For minor mold on fabric:
- Vacuum first.
- Use a small amount of upholstery-safe cleaner or mild detergent solution.
- Gently scrub with a soft brush.
- Blot, do not soak.
- Extract moisture with towels or a wet/dry vacuum.
- Dry the area immediately.
Be especially careful with the headliner. It is glued in place, and oversaturating it can cause sagging.
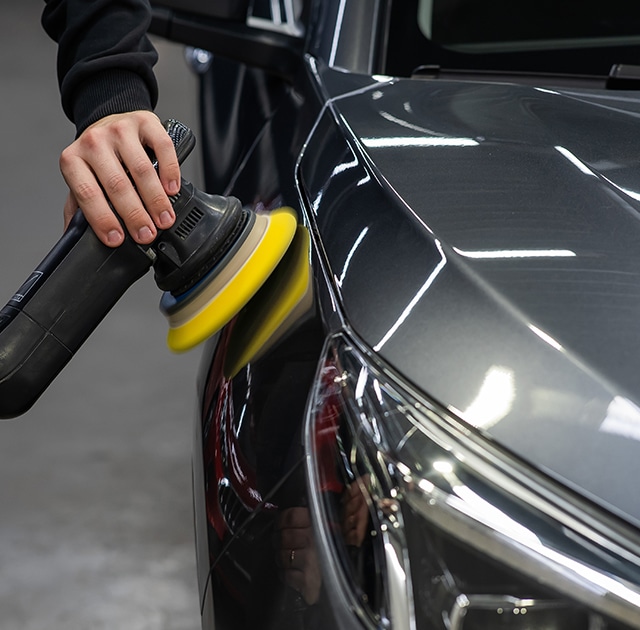
If you are dealing with widespread contamination in seats, carpet padding, or the headliner, this is the point where professional help may save you time and replacement costs. For busy local drivers, services that offer mobile car detailing in Markham can be convenient when you need on-site interior treatment without driving a damp, moldy vehicle around town.
Step 7: Dry the car completely
Drying is the make-or-break step. CDC advises drying affected areas as quickly as possible, ideally within 24 to 48 hours.
To dry your car properly:
- Leave doors open in safe weather
- Use fans to circulate air
- Run a dehumidifier in the garage if available
- Place moisture absorbers inside the car
- Lift floor mats and dry underneath
- If safe to do so, run the heater or AC to move air through vents
Health Canada recommends keeping relative humidity between 30% and 50% to reduce mold risk.
Step 8: Do not mix harsh cleaners
A lot of people overdo mold cleanup by combining products. Don’t. CDC warns never to mix bleach and ammonia because it creates toxic vapors. In a small, enclosed vehicle cabin, that risk is even worse. Stick with one cleaner at a time, follow the product label, and prioritize ventilation.
Step 9: Know when to call a professional
DIY works best for small, early-stage mold problems. Bring in a pro if:
- Mold keeps returning
- The smell remains after cleaning
- Carpet padding is soaked
- Seats are heavily contaminated
- You had flood damage
- The HVAC system smells moldy
- You or a family member has asthma or mold sensitivity
A reputable service specializing in mobile car detailing in Markham may also help if your schedule makes it hard to leave the vehicle at a shop for a full interior remediation.
Step 10: Prevent mold from coming back
Once the car is clean, prevention matters just as much as removal.
Use these habits:
- Shake snow and slush off boots before getting in
- Dry wet mats weekly in winter
- Crack windows slightly on dry days if the car sits
- Clean spills immediately
- Check seals around doors and sunroof
- Don’t leave damp gym clothes or umbrellas inside
- Vacuum regularly
- Use all-weather mats during rainy and snowy months
If you want a simple maintenance solution, periodic deep cleaning through mobile car detailing in Markham can help keep moisture, dirt, and organic buildup from turning into a bigger mold issue.
Mold removal is really a two-part job: remove the visible growth, then eliminate the damp conditions that allowed it to grow. Do both well, and your car will smell better, feel cleaner, and stay healthier for everyone riding in it.